If you follow me on Twitter or Flickr, you may have noticed my picture stream became flooded with doggy pix over the last few months with the newest addition to the Fleephaus family.
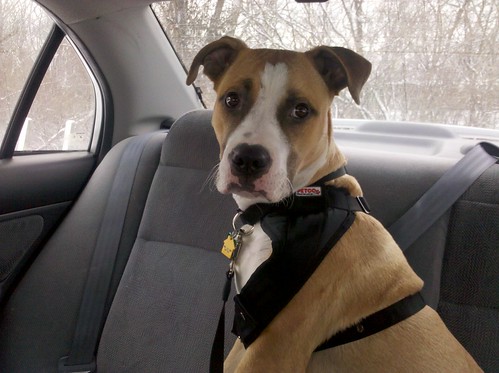
Bauser’s not too keen on the whole seatbelt concept.
Here’s the story: Â Late one night at the end of November, I was driving a friend home, when I rounded a curve to find a big dog standing right in the middle of the road looking terrified at the oncoming headlights. Â I pulled over to try to call him off the road, and as I got out of the car and hollered for the dog, I didn’t even think about the fact that I’d left my driver side door open.
In went the dog, right in the driver side seat. Â The big dog. Â With big teeth. Â My friend jumped out of the other side of the car and we both stared at each other in horror. Â How to get the big dog OUT of the car now that he was in it and didn’t seem to want to leave?
Well, he wouldn’t get out even with calling, whistling, cajoling. Â He squirmed into the backseat and firmly planted himself there with a look that said, “So, where are we going?”
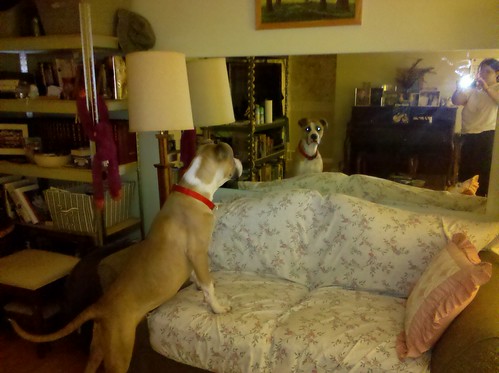
Bauser checking out the house for the first time.
Eventually we went home with the dog in the car and the next morning I posted flyers and tweets and called the SPCA.
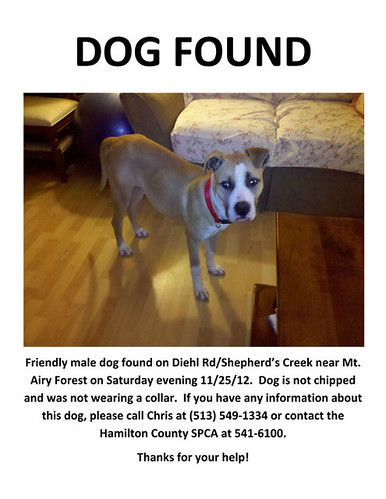
But after a few weeks, no one had claimed him and the SPCA called me back to see if I wanted him, otherwise they were going to put him to sleep. Â What could a good bleeding heart softy do but adopt the poor fellow?

First night home from the SPCA, he lost 8 pounds in just a couple weeks there! Â 🙁
We decided his name was Bauser, after a dog my grandpa had when my mom was a little girl, and the slow process of introducing the kitties to the dog began. Â And since I didn’t have a fence, every single time Bauser needed to potty meant putting on boots and coats and dragging ourselves out in the snow and cold. Â It was a long winter. Â 😉
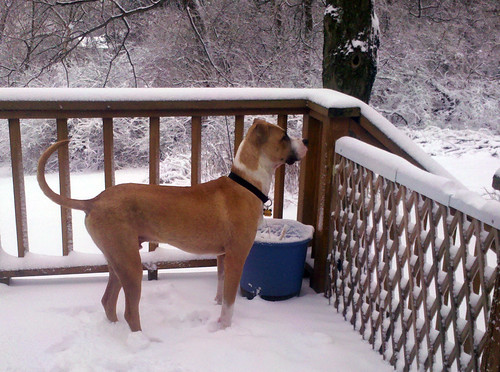
Bauser really wants to go out and play in the snow, but there’s no fence!
But now, finally! spring has arrived, and after much research and prep work, my mom and I are putting in a split rail fence so Bauser will have full run of the yard, get good exercise, and I can be a little lazier and just let him outside when he wants to go.

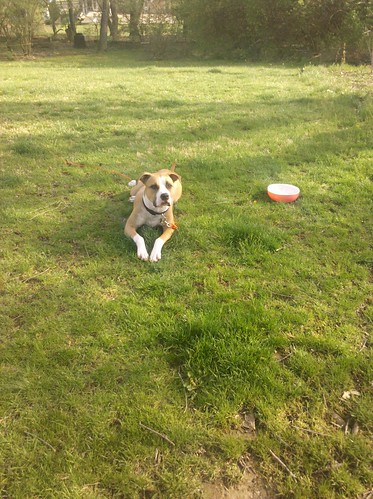
Bauser is very excited about his new bone, but sad that he’s tied to a line.
Putting in a fence is something in the past that I would have asked my grandpa to help me with, but now that he’s gone, my mom and I have had to start learning how to fend for ourselves with these big house projects. Â I seriously do not know what mankind did before the internets, because thankfully, there’s tons and tons of good information and how-to videos about how to do things like put up a fence. Â Â I’ve collected some of the best videos I found on my wiki here.
Step 1: Â Get a Property Survey
If you want to build a fence near your property line, and you don’t already have markers for where your property lines are, the first thing you have to do is get a professional surveyor out to mark it for you. Â I called a bunch of places and the initial estimates were in the $500-$900 range, which nearly knocked me over!

Fortunately, I had a chat with a neighbor who also put in a fence this spring, and he gave me a tip for a local surveyor who gave a much better price. Â His name was Doug Spreen, and if you live in the Cincinnati area and need a property survey, I highly recommend him. Â He was very friendly and knowledgeable, got me scheduled within a week, charged a much more reasonable price, and did a great job. Â Plus hooray, I discovered my property was actually much larger than I thought!
Step 2: Â Get a Permit
In Green Township where I live, the City of Cincinnati handles the permits for exterior home improvements. Â I called the City of Cincinnati Zoning department, explained to the lady who answered what I wanted to do, and within a few moments she emailed me the permit application and an image of my parcel that I could draw where the fence would go, and boom, emailed everything back and paid the $130 permit fee online and I was set to go. Â I was very pleased that the process could all be done online and very quickly, which really says a lot about how much the City of Cincinnati has modernized their services.
Step 3: Â Call Before you Dig
In Ohio, the Ohio Utilities Protection Service makes it super easy to find out from local utility companies where underground powerlines, water lines, and other utilities are located.  One quick phone call to 811 or 1-800-362-2764, and within a few days the utility folks come out and mark anywhere on your property where an underground utility exists.
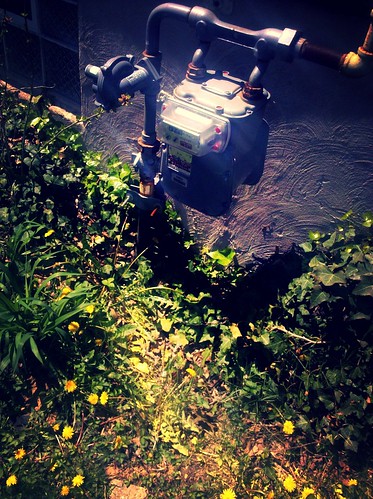
Kinda hard to see in the picture, but they spray painted where the utilities are.
It was super simple and I felt a lot better knowing that my proposed fence site was in the clear and I wouldn’t have to worry about accidentally zapping myself by digging in the wrong place.
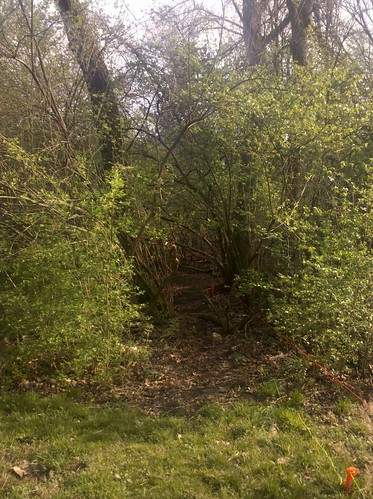
Step 4: Â Clear Brush and Snap a Mason’s Line
The right rear corner of my property is wooded and was pretty overgrown with honeysuckle and vines and scrub brush, so I had to clear out a path for the proposed fence. Â It was daunting at first, but not nearly as bad as I thought it would be.
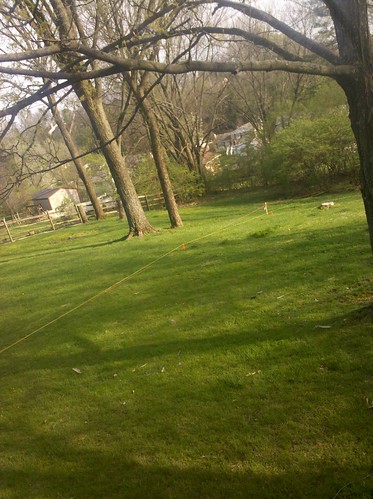
Once the brush was cleared, my sister and I marked the property line in pink string, and the proposed fence line in neon yellow. Â Not only would it help us make sure our fence didn’t get crooked, it was also really neat to finally be able to visualize exactly where everything would go.
Step 5: Â Get Supplies and Tools
One of my biggest gripes at the moment is that manufacturers do not make tools for women!!! It is extremely frustrating that most tools and hardware are designed for someone at least a half a foot taller than me, with bigger hands than me, and a lot more upper body strength than me.  My mom and I scoured the hardware stores looking for tools that had a smaller grip or shorter handles to make it easier for us to use them.
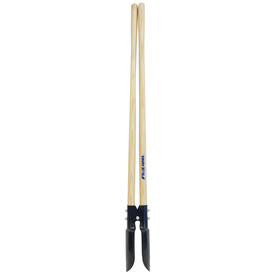
Shorter, more manageable post hole diggers from Lowes.
And yes, we looked at renting an auger, but holy moses, we could hardly lift the darn things, let alone imagine trying to use them. Â Eventually we found some fiberglass post hole diggers that were much lighter, and even a pair of wooden handled ones that were much shorter and easier to maneuver, and so far they are serving us very well.
The full list of tools and supplies we’re using:
- Mason string and stakes for marking the fence line
- Measuring Tape
- A large level for checking plumb
- A good spade for starting the hole (not a shovel)
- A small digging shovel for squaring the holes
- Two post hole diggers, one larger, one smaller
- A baseball bat and a long straight stick for tamping the dirt back in
- Gravel for drainage at the bottom of the holes
One note: Â To concrete or not to concrete? Â After much research on the internets, where there are lots of conflicting opinions about whether or not to set the posts in concrete, I decided to NOT go the concrete route because I found it pretty convincing that the concrete holds moisture and can cause the bottom of the fence posts to rot. Â Since this is not going to be a heavy load bearing fence, I felt the concrete option would be more work and maybe cause potential problems that I didn’t want to deal with. Â Plus if you do concrete, you have to set it below the frost line, which in Zone 6 is 36 inches, and that would require longer, more expensive posts. Â Hopefully I won’t regret this decision down the road.
Step 6: Â Get Fencing Materials
After looking at the stock split rail fencing materials at Home Depot and Lowes, I have to admit I was pretty unimpressed. Â Many of the rails and even posts looked warped and just not the kind of quality I expected. Â With again a thousand thanks to my nice neighbor, he gave me a great tip – he got his materials from Mills Fencing Company, a local fencing place, and to my great surprise, not only was the stock MUCH higher quality, it was also cheaper!
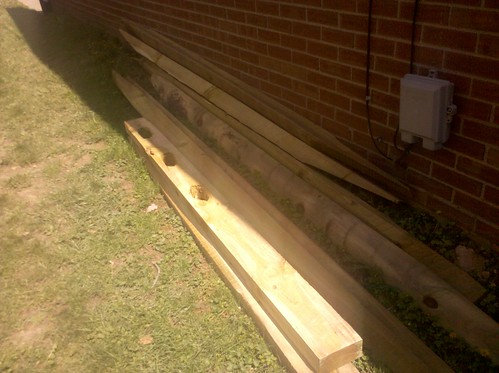
So again, if you’re doing a project like this in the Cincinnati area, I highly recommend the Mills Fencing Company folks. Â The fellows we worked with picked out the nicest posts and rails and loaded them all up for us.
Step 7: Â Mark the Spot & Start Digging (and Digging and Digging..)
From there it’s really not too complicated. Â After marking the spot where the first end or corner post goes, you basically dig a hole, pour in some gravel, set the post, tamp the dirt (or in my case, nasty clay) back in, and you’re off to the races.
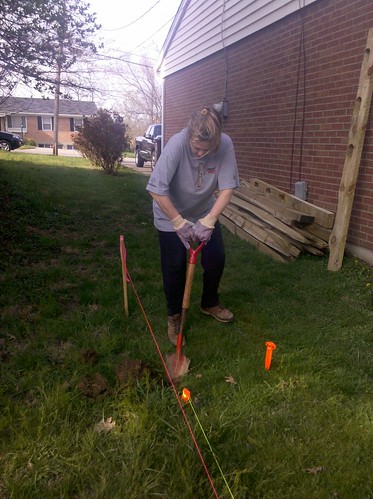
Mother starting the first post hole.
A few things we’ve learned along the way:
1) Â Dig the holes and set the posts one at a time: Â Since my fence is following the contour of the land and my property slopes steeply downhill in places, it’s best to do one post at a time instead of marking all the spots and digging the holes in advance. Â The rails fit pretty snugly in the posts if you measure it correctly, but if you’re off by even a little bit, the rails either don’t go in enough or go in too far. Â With the slope, I can imagine it would be very easy to get off course if you tried to dig the holes in advance.

Me setting the first post.
2) Â Don’t dig a hole bigger or deeper than you need: Â This is really silly advice and should be self-evident, but our first few holes were enormous! Â It took us a little practice to get good at making the holes just the right size so we didn’t waste effort digging too much – which was especially painful since that meant we also had to waste effort filling it back in!
Bauser is very sad that we won’t let him come over and help dig.
3) Measure, eyeball, and check plumb constantly: It’s easy to get caught up in doing what you’re doing, but the second you forget to check your placement, or to check whether the post is plumb, that’s when you goof up and have to expend even more energy to fix your mistake. Â We’ve definitely learned the value of checking measurements and plumb constantly.
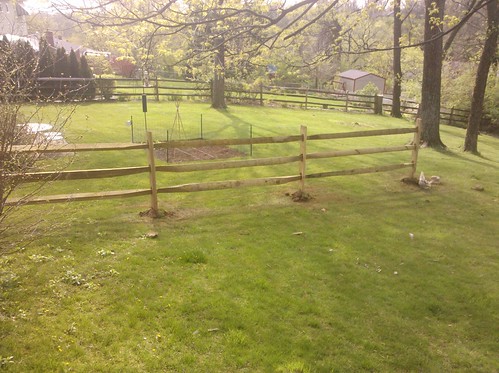
So that’s the report so far, we’re about 1/3 done and I am pleased as punch with how the fence is coming along. Â I think it’s beautiful!
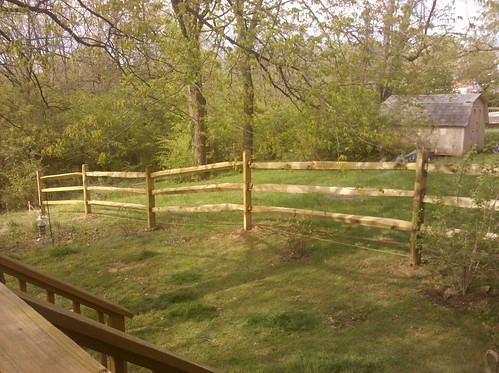
I’ve completely surprised myself with my strength and endurance, and Bauser is going to LOVE being able to run around like a wildman in his own back yard.
Tags: bauser, fencing, split rail fence, spring projects